Essential Camera Settings Every Beginner Photographer Should Know
Recent Trends in Entry-Level Photography Education
The rise of smartphone photography has lowered the barrier to image-making, yet many new camera owners quickly encounter a gap between automatic modes and creative control. Photography blogs and tutorial platforms report increasing traffic from beginners seeking clear guidance on manual settings. Meanwhile, camera manufacturers have introduced assisted modes and touch-screen interfaces intended to bridge this knowledge gap, though the fundamental learning curve remains a consistent topic across online communities.
Background: The Exposure Triangle and Core Controls
Traditional camera operation revolves around three interdependent variables—aperture, shutter speed, and ISO—commonly called the exposure triangle. Adjusting any one of these requires corresponding changes to maintain proper brightness. Key points of reference include:
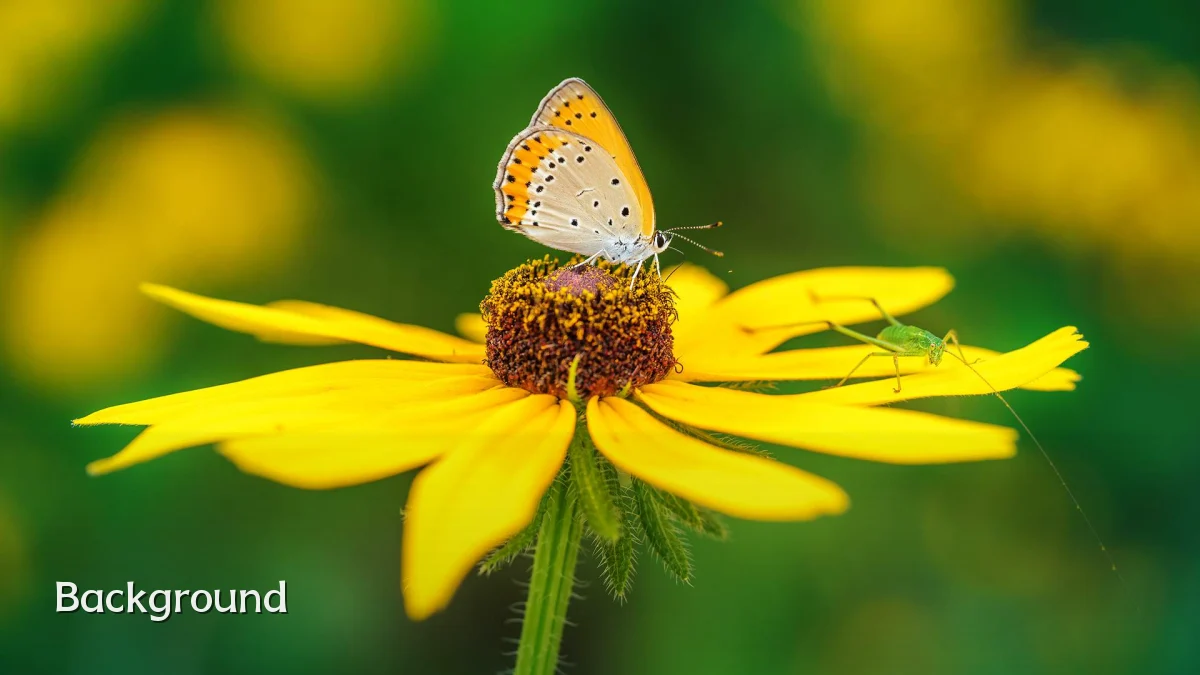
- Aperture (f‑stop): Controls the lens opening and depth of field. Lower numbers (e.g., f/1.8) let in more light and blur backgrounds; higher numbers (e.g., f/11) keep more of the scene in focus.
- Shutter Speed: Determines how long the sensor is exposed. Fast speeds (1/500s or higher) freeze motion; slower speeds can introduce blur from camera shake or moving subjects.
- ISO Sensitivity: Amplifies the sensor’s signal. Low ISO (100–400) delivers clean images, while high ISO (3200+) adds noise or grain.
Modern cameras also offer semi-automatic modes—such as aperture priority or shutter priority—that let beginners control one setting while the camera adjusts the others, providing a practical stepping stone toward full manual exposure.
User Concerns and Common Missteps
Beginners frequently express confusion about when to prioritize one setting over another. Typical pain points reported in online forums and blog comments include:
- Blurry images: Often caused by too slow a shutter speed for handheld shooting or moving subjects.
- Over- or underexposure: Results from misunderstanding how aperture, shutter speed, and ISO balance each other.
- Excessive noise: Arises from relying on high ISO in low light without adjusting other settings.
- Focus errors: Using the wrong autofocus mode or failing to select the correct focus point for the subject.
Many photographers note that the most efficient path to improvement is to practice with one setting at a time—for example, spending a day shooting in aperture priority while observing how depth of field changes.
Likely Impact on Skill Development and Creative Control
Mastering these settings typically unlocks noticeable gains in image quality and artistic intent. Photographers who move beyond automatic modes report greater consistency in exposure, better management of motion blur and noise, and the ability to achieve specific visual effects—such as silky water or background separation—that are otherwise difficult to produce. From an industry perspective, reducing the initial frustration with technical controls may help sustain engagement with dedicated cameras amid competition from advanced smartphone computational photography.
What to Watch Next
Ongoing developments in camera firmware and lens technology could further simplify the learning process. Look for:
- AI-assisted metering and autofocus that adjust settings based on subject recognition, potentially reducing the number of manual decisions for beginners.
- In-camera tutorials and tooltips that explain settings in real time, already appearing in some mid-range models.
- Improved high-ISO performance in entry-level sensors, which may shift the exposure triangle tradeoffs for low-light shooting.
- Cross-platform learning resources such as interactive simulators and community-driven settings databases that help users apply principles to specific scenes.